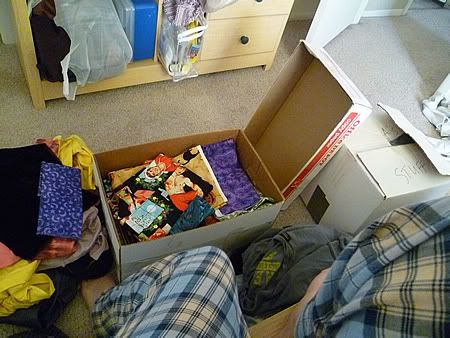
I started a new batch of patches yesterday with the intention of making a Doctor Who themed bag (as an aside: I just finished watching the entire series starting at #9 and am sad it is over already - but there are too many wonderful quotables and inspirations for me NOT to do a bag). Anyway, I grabbed my camera and went into my bedroom which is where the majority of my supplies are kept and dug through my boxes of fabric. This is the part where stern seamstresses will slap my hand for storing my fabrics in boxes mostly unironed and unfolded, but hey it's my fabric and I'll do what I will with it! Besides, I do generally iron the scraps before doing anything else anyway.
And BTW sadly, my boxes are not bigger on the inside although I wish they were. I think I'll be needing a new box soon, the two I have are getting pretty overstuffed.

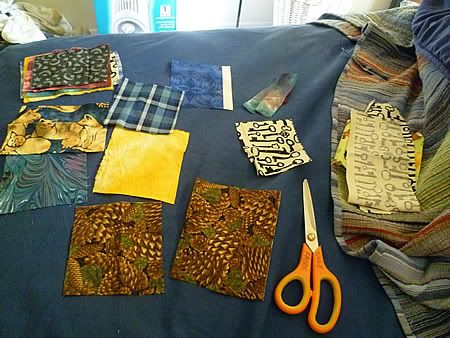
Also here's a quick snap of assorted scraps designated for this project. I pick an array of patterns and colors, no hard plan at all, though I was looking for a lot of blue as that is a signature color of Doctor Who.

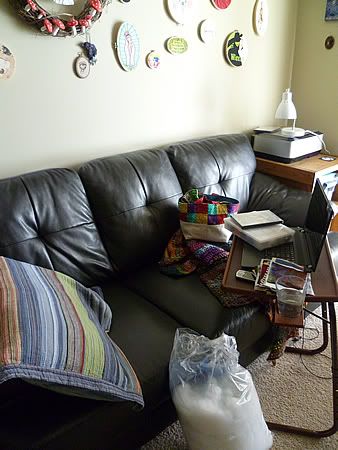
Now the main event: my workspace....the couch.

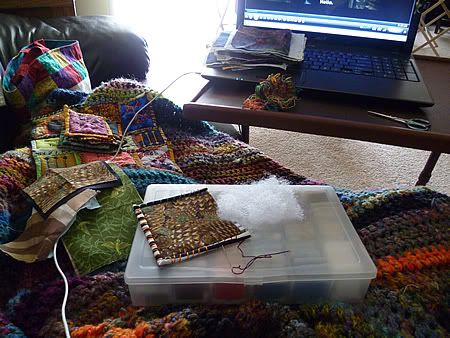
I think one reason why I love making TM things and why I can do it so quickly is that I love me some tv or movie programing while I'm working away. I've got everything I need pulled up to the couch area - floss, fabric, stuffing, show (in this case it was HP7.1), and water. It may look a bit chaotic but it works for me. And once I'm done everything sits on my work table until I'm ready to pick it back up again.

I'm not really going to go into detail on how to make a TM bag because the tutorial videos are already out there (check out Teesha Moore on youtube if you haven't already), but if anyone has any questions about technique I can definitely go detail crazy there.
Next up! I'm hoping to do some freezer paper stenciling for some of my patches today, and a few printed out on special fabric that's meant to go through a printer (this is a new trick for me actually hopefully it pans out). And then more stitching....and more stitching...and lots of stitching. I'll keep the camera close for action shots though!

I love this post. It's always nice to see a little behind the scenes. And i am very excited to see how your Doctor Who TM bag turns out. Very excited.
ReplyDeleteYour work space is perfect. Glad to see I'm not the only one who works while sitting on the sofa. :)
DeleteThis is a neat post! It's fun to see where you work. I love the couch set up. I have something very similar, despite my hubby's grumbles :).
ReplyDeleteWell, I DO love this! And I can't find it on You Tube!???
ReplyDeleteJust so you know.... I did watch the fabric journal tutorials just now.... guess that's what you are talking about? I dooooooo so need to make this!!! Thank you!!!
ReplyDeleteThanks so much guys! I've been working on bags like crazy lately and the couch is so comfty to relax and work on.
ReplyDeleteLinda - yes the fabric journal tutorials are what I'm referring to. TM does journals but you can make just about anything with the techniques she shows you.
Hi there! I know this is a very old post, but I'm hoping you catch my comment. :) I'd love to know more details! I've spent a lot of time drooling over and admiring your HP bags - they are a work of art! I'm new to TM, but I did just watch the YouTube videos and I'm excited to start something tonight. I'd love to know how you go about writing so clearly on your patches. Do you pencil it before hand and then stitch over it? Any other details you're willing to share would be more than welcome! TIA!
ReplyDeleteHi CC! I actually have never traced anything down. What you see is all freehanded stitching. It takes some practice but penciling in the words is certainly ok too. If you have any questions let me know. You can email me at quirkiecraft@gmail.com =)
DeleteThanks for replying so quickly! I am amazed at your free-hand skillz! I tried embroiderwriting last night and it turned out horribly. I think my floss was too thick. That said, I'll ask just one more question here in case anyone else is wondering too. :) How much floss do you use for your writing? Oh wait I thought of one more q: where do you find your template for the freezer paper stencils? I've used that method in the past and love it, but the trick is finding a good stencil. I'm gonna go out on a limb and bet you hand draw them, you crafty wonder, you. :) I appreciate you taking the time to respond - I know how time consuming a blog can be!
DeleteMy standard floss count when stitching in general is 3 strands so usually that's it. For freezer paper stenciling I get my stencils anywhere and everywhere. Some I do make myself modifying images or just drawing myself, but do a search on the internet and you can find a lot of fun stuff.
DeleteThis comment has been removed by the author.
ReplyDeleteThanks! I bought some new floss yesterday and I plan on watching HP and getting my craft on tonight! :)
ReplyDeleteAs Anne of the Green Gables says:
ReplyDelete“Kindred spirits are not so scarce as I used to think. It's splendid to find out there are so many of them in the world.”
I think I have found one: my scraps are also in my bedroom's closet in boxes, where I have my craft corner (not in the closet, in the bedroom)!lol I often work on the couch (if the cat allows me) and I love small scraps! Thanks for sharing.