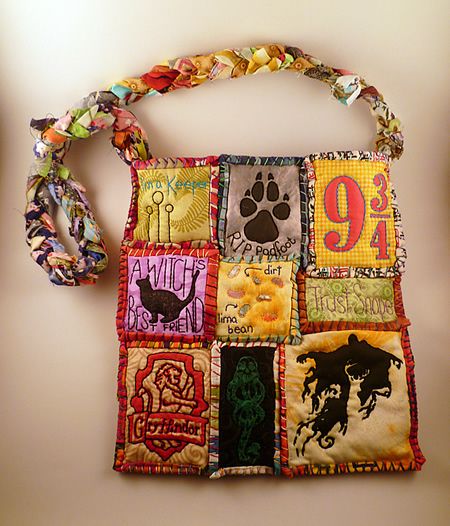
Since I started making my patchwork bags I've had a lot of people ask me how I make my scrappy strap to go with it. I've explained it but I'm always one for a tutorial with pictures, so I've finally remembered to take pictures so I can share it with you now!
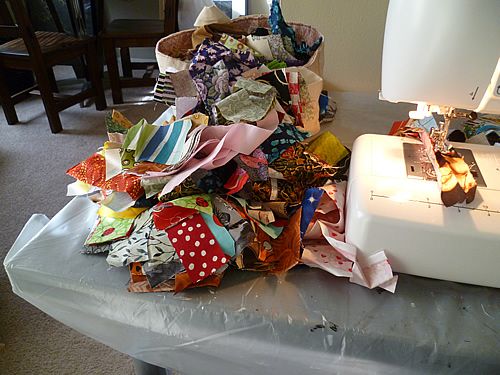
Start with a bunch of fabric scraps. Cut them into strips about 2 inches wide; length is irrelevant, I have bunches that are short and bunches that are long. Now remember, there is no right or wrong here, it can be a bit thicker, it can be a bit thinner. I've found that 2 inches wide is the sweet spot to make sure your strap doesn't end up too flimsy (in my opinion).
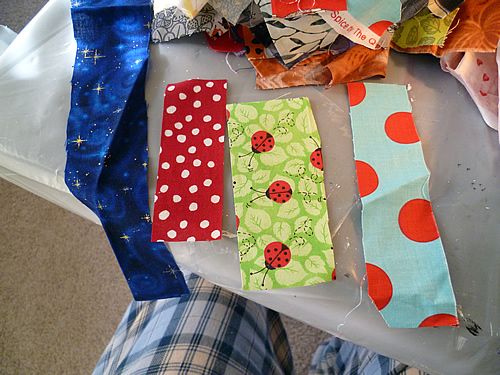
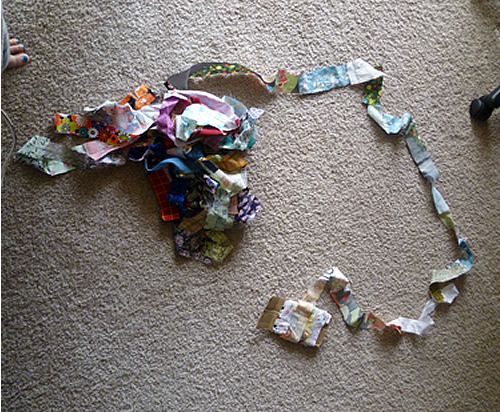
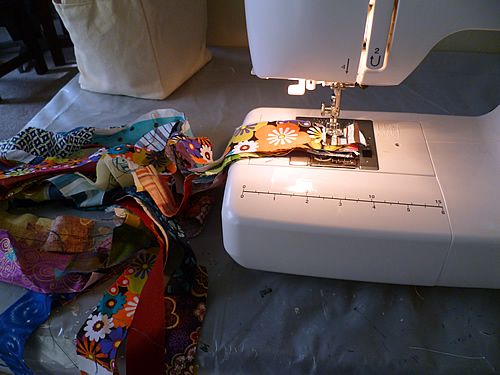
Take your first two strips and sew them together overlapping about 2 inches. Now at this point if they're relatively short strips, I just keep sewing down one strip, taking the next piece and overlapping and keep the needle running (hope this is making sense!). If it's a longer piece, I run the needle back and forth a couple of times on the overlap between two strips and then cut the thread there. No need to waste thread when you're not going to have another overlap for quite a bit (if the strip is long).
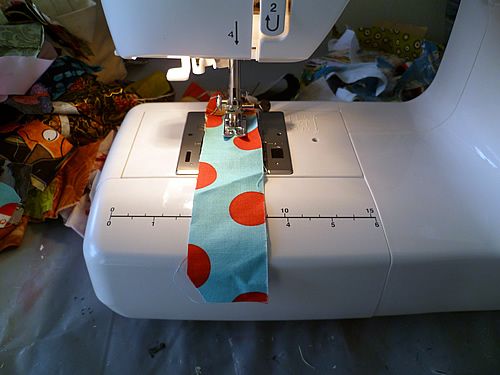
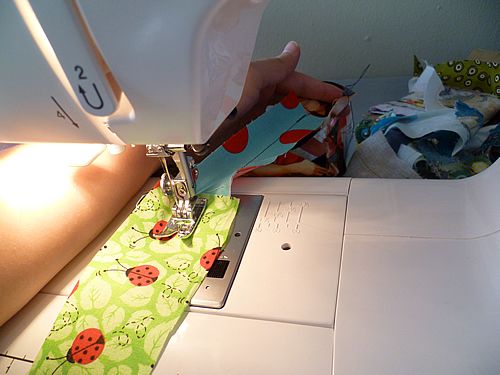
Once you have a long long chain of strips, step away from your machine. I cut this long chain into 6 smaller pieces, roughly the length of my arms stretched out.
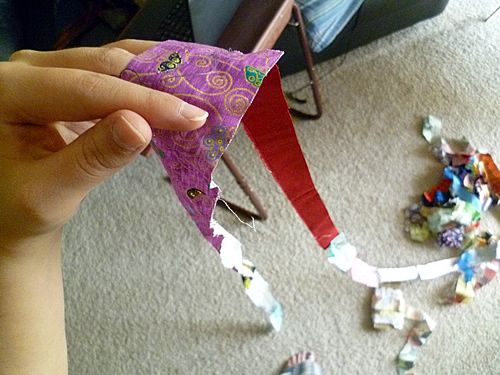
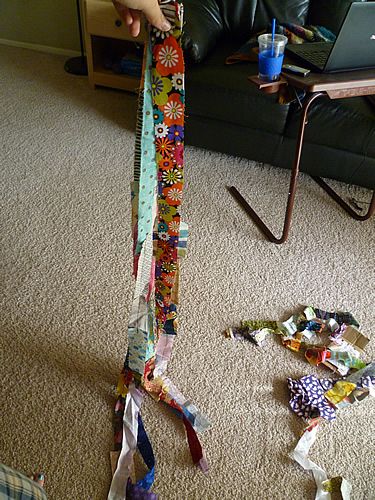
Gather the ends of all 6 pieces and sew them together.
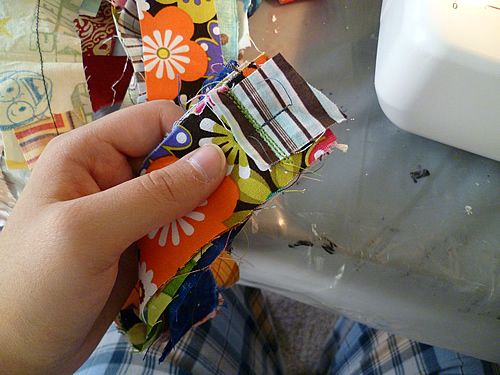
Find someplace to anchor the end of your strips - I use a chair back (very high tech I know) - and separate the strips into 3 sections of 2. Braid the strips now.
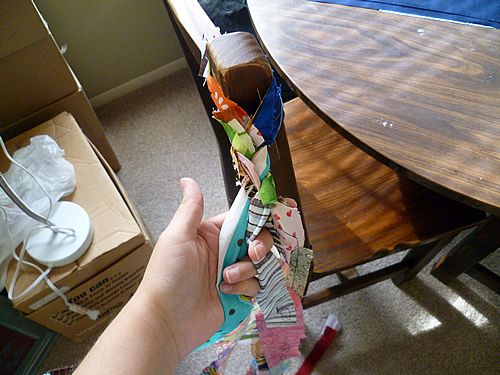
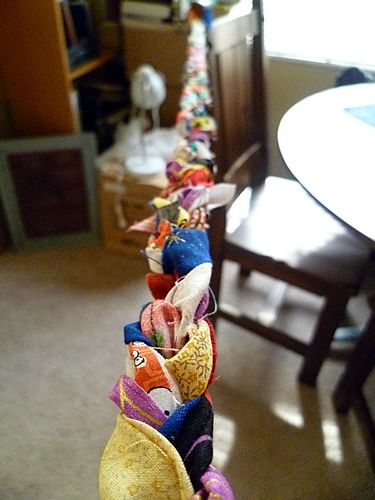
Once you've braided it to the length of your choosing, sew the other end and trim.
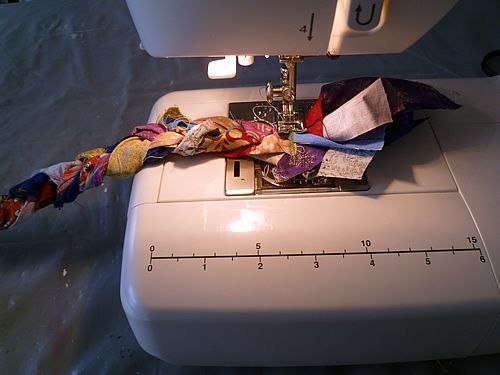
Now you're ready to sew it onto your bag!

You did it, u showed us how to make those straps. I was getting ready to make one, but never imagined you do it this way. Thank you for the new years gift of learning a new skill! ;-)
ReplyDeleteYou're welcome! I'm glad to share =)
DeleteNeat! I've always thought your handles fit so well with your bags. Perfectly scrappy!
ReplyDeleteI think so too! I'm glad you agree.
DeleteWow... that explains a lot! I never would have guessed that's what you did. :)
ReplyDeleteYup =)
DeleteIt never occurred to me to sew The strips together like that. Derp! :-P
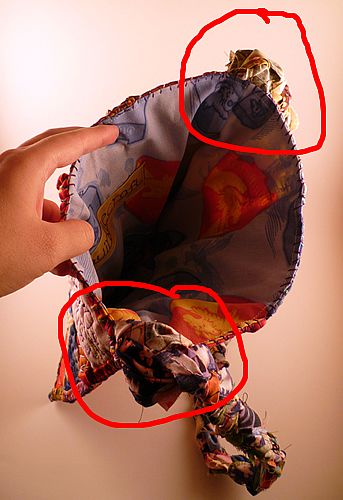
ReplyDeleteAny tips on how to sew the strap into the bag? Do you sew it to the lining first? Thanks for the tute!
ReplyDeleteI sew the straps to the corners of the bag shell itself, before sewing in the lining. Hope that helps!
DeleteThanks! I will give it a go! Shouldnt be too hard :)
DeleteThis comment has been removed by the author.
ReplyDeleteAwesome! Thanks for sharing! I've made a braided denim belt in a somewhat similar fashion, just with longer steps and more stitching, because denim frays so badly. I have an entire pillowcase full of vintage sheet scraps......this gives me some new ideas.......
ReplyDelete