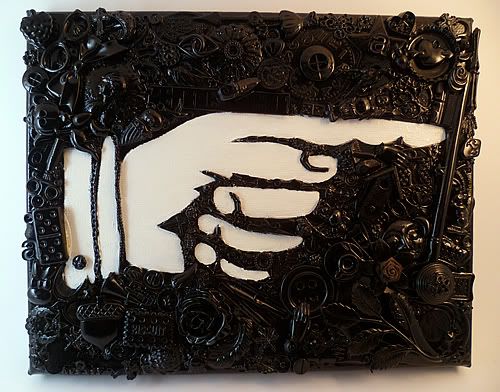
Made from a whole horde of whimsies that I've had forever. I'm so happy I finally found an awesome way to display some of the whimsies I've kept, unsure of what to do with them since it was hard to use them in my TM work or otherwise. It's such an eye spy of everything. My favorite details are the cup and saucer, sitting horse, bird house, shoe, biscuit, hand. Can you find them? =)
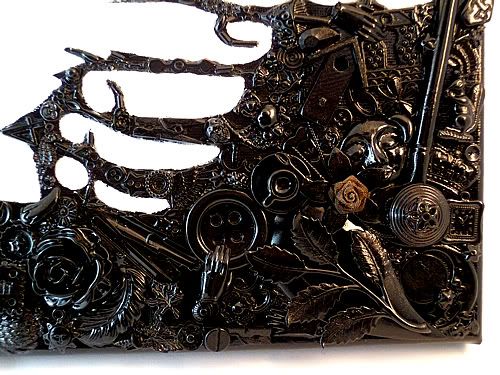
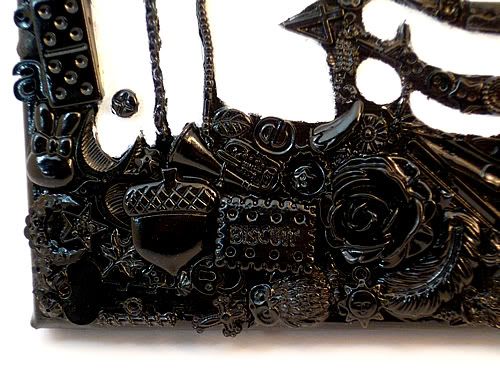
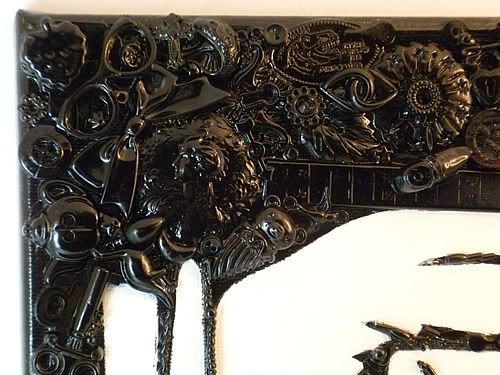
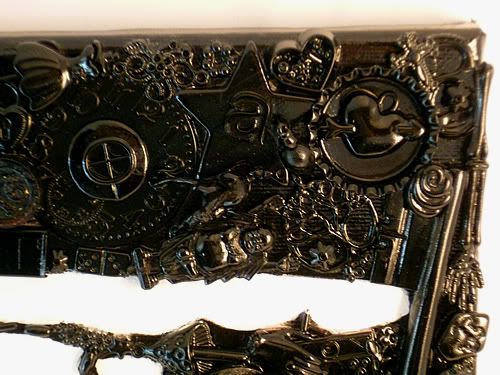

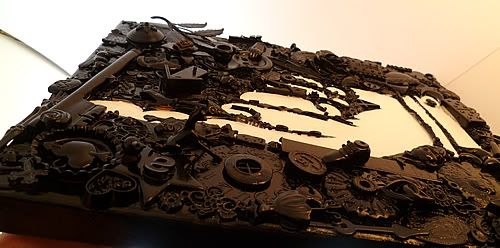
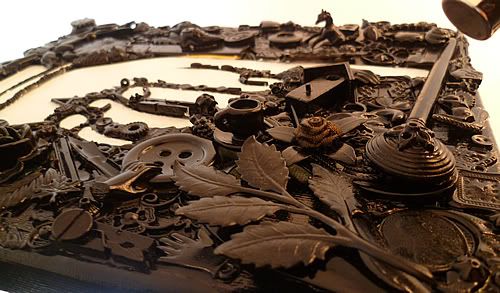
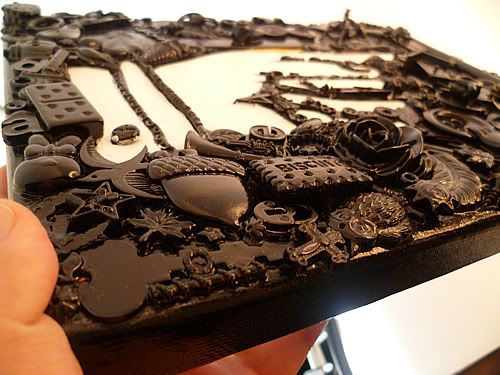
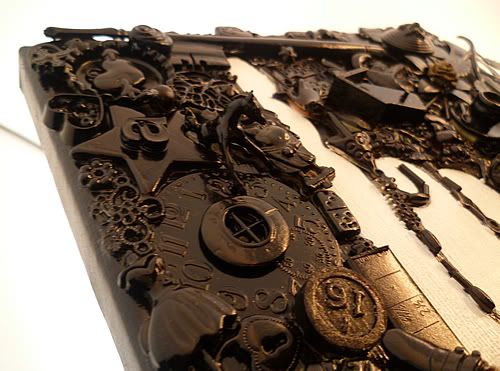
It's pretty amazing how simple it is for how awesome it turns out. I traced a stencil onto the canvas and decided which areas were going to be light and dark (this could easily be done with other colors besides black and white, but I love the dynamic look so I went with it). Then I pulled out my whimsies and glue and went to work filling in all the spaces that would be sprayed with color. It took a while since I had to find small bits for all the more detailed areas. Seed beads are great for a bit of filler too in these areas. Then after all the gluing is done and it's completely dry I made a stencil out of contact paper to lay over the areas that were to remain white - this is somewhat tricky because even though you try to maintain the lines you drew as best you can there is going to be some overlap. I cut out the stencil and then trimmed as needed when I tried to lay it over the white space itself before peeling off the back of the contact paper. Hopefully this makes sense...then go to town with the spray paint of your choice in a well ventilated area - I took mine outside. Once the canvas is completely covered and the paint is dry peel away the contact paper and touch up the edges because there will be some degree of spray that manages to get under the contact paper. Voila - done!
Now to find a place to hang it.

I want to come over just to touch it! It just screams "Cool textures!" to me. I'll be over around 7 pm or so. ;)
ReplyDeleteIt's fantastic - but wouldn't it have been easier to put the contact mask on first, before the whimsies?
ReplyDeleteSM - I didn't put the contact paper down first because I didn't want to run the risk of it becoming accidentally glued down. I suppose worst case scenario it could be cut away, but the way I did it, though finicky, worked out fine I think.
ReplyDeleteI love, love, love this! I'm scared of the contact paper stencil/painting part. I might have to give this a try ... what kind of spray paint did you use and how did you touch up the bit that got under the stencil?
ReplyDeleteI just used a generic black spray paint, nothing too special, though it was black gloss. I touched up the white areas by carefully applying gesso first (this is important because when I put regular acrylic paint down it had a hard time sticking because of the slick surface the spray paint creates - the gesso is perfect for this). Then went back over it with regular white acrylic paint.
ReplyDelete